
The latest Google algorithm updates and the rapid growth of artificial intelligence have made media one of the key factors in attracting organic traffic. The best way to ensure that your images are indexed is by using an image sitemap — a tool that helps search engines quickly find your visuals. Right now, we’ll share plugins, services, and tips to help you create a proper sitemap for images.

What is an Image Sitemap
An image sitemap is a special type of XML file designed to help search engines find and index all the images on a website. It allows site owners to improve SEO, speed up media content indexing, and increase visibility in Google Images.
Usually, images are already included in the main XML sitemap. However, there are cases when it’s advisable to create a separate sitemap specifically for media — more on that below.
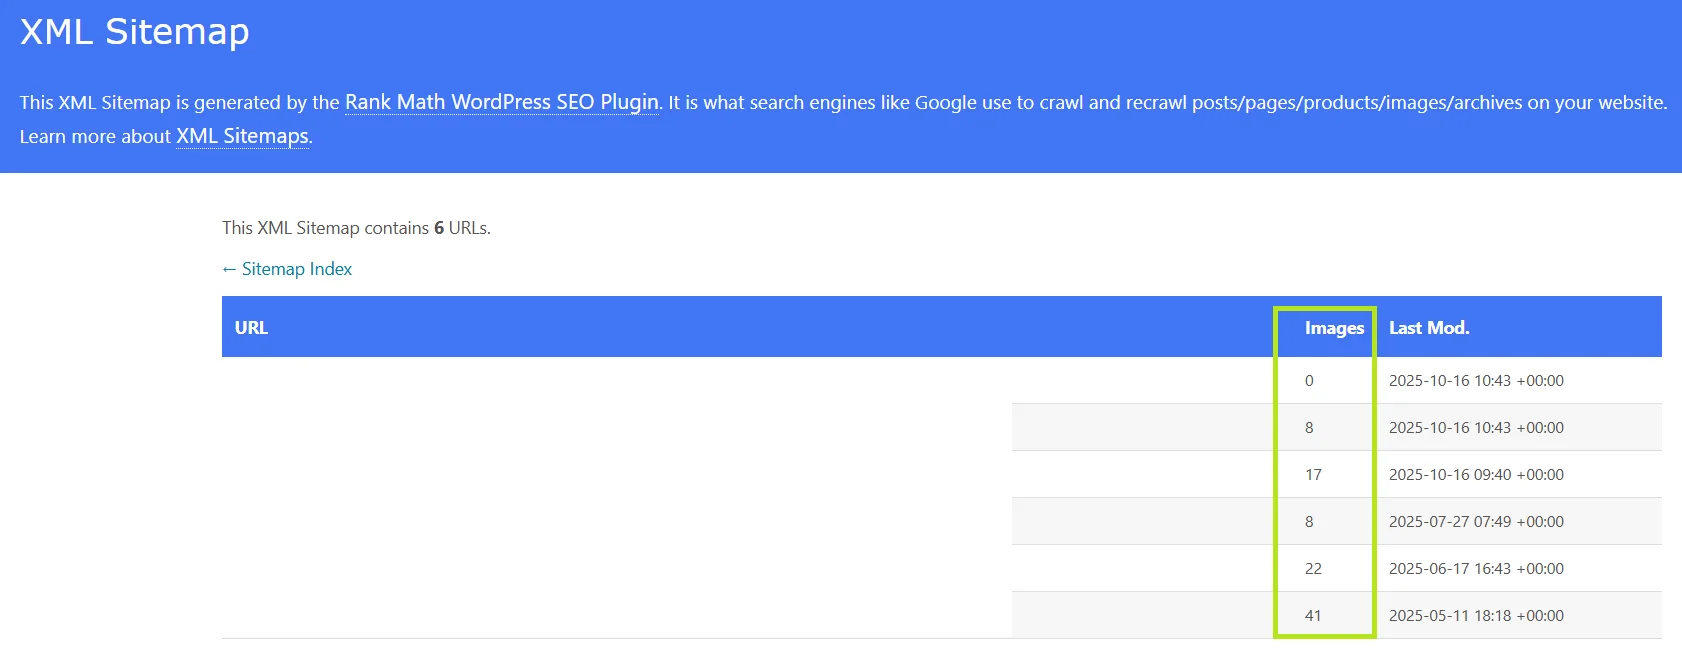
Example of a standard sitemap.xml with images created using the Rank Math SEO plugin.
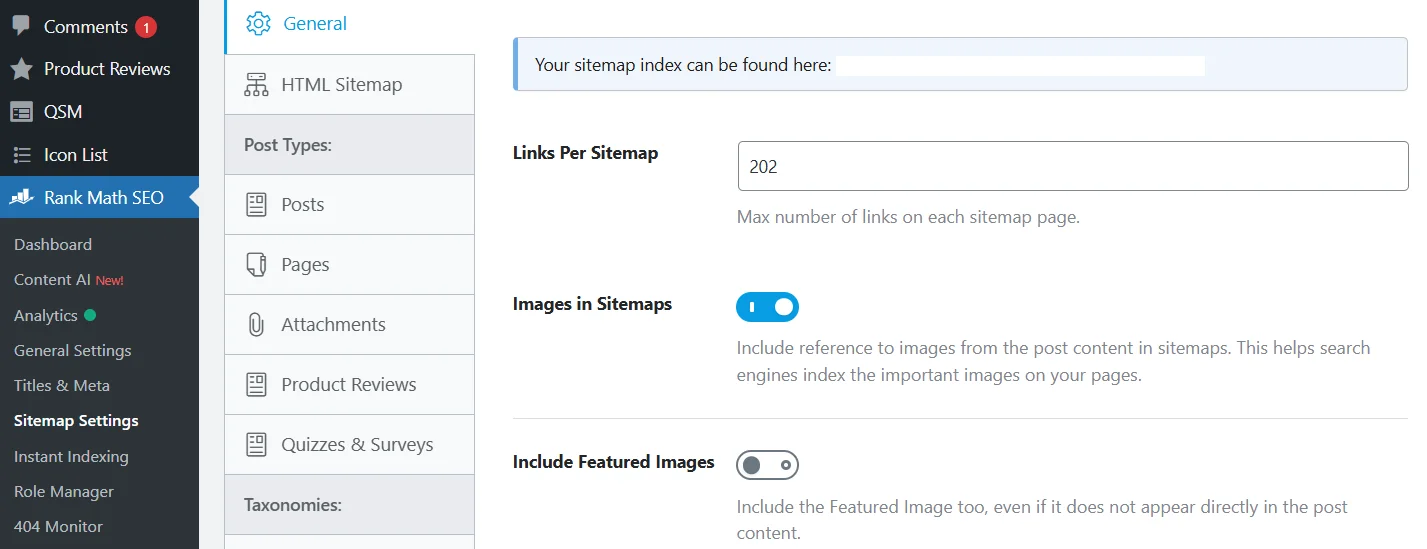
In the settings, you can enable the inclusion of all images within the content or only selected ones (such as the featured image of the post).
When You Need a Separate Image Sitemap
A dedicated image sitemap is necessary when search engines can’t fully index your images due to the large volume of content. With its help, Google can more quickly find and display your media in image search results.
Based on our experience and client feedback, here are the most common situations when it’s worth creating a separate image sitemap:
- a large number of images (galleries, catalogs, portfolios, online stores);
- some images are loaded dynamically (via JavaScript or external plugins);
- images are hard to find through normal crawling because they’re placed in closed sections or have weak internal linking;
- some images aren’t getting indexed (you can check this in Search Console);
- images are stored outside the main domain, for example, if you’re using a CDN or an external domain.
If your website is small, has few images, or visuals aren’t its core element, the main sitemap.xml (generated through SEO plugins or online tools) will be sufficient. However, if visual content is a key part of your project — such as an online gallery or a photo portfolio with thousands of images — a separate image sitemap can help improve visibility in Google Images and increase your chances of appearing in Google Discover.
Read also: How to Pull a Website Out of a Traffic Drop-Off After the Spam Update and AI Overviews
How to Create an Image Sitemap
You can create an image sitemap manually using plugins (for example, Simple XML Image Sitemap) or online generators. If your website runs on WordPress or another CMS, plugins are usually the most convenient option. For custom-built websites, online generators are a better choice.
How to Create an Image Sitemap on a CMS
As mentioned earlier, modern SEO plugins — including Rank Math, SEOPress, Yoast SEO, and All in One SEO — automatically include image data in your standard sitemap.xml. If your website has only a few images or they’re not a major part of your content, there’s no need to create a separate file. However, if you manage a media-heavy project, it’s better to generate a dedicated image sitemap to speed up indexing in Google Images.
If you’re using an SEO plugin, disable sitemap generation within it, or avoid installing additional CMS extensions that create separate image sitemaps — this helps prevent duplicate files.
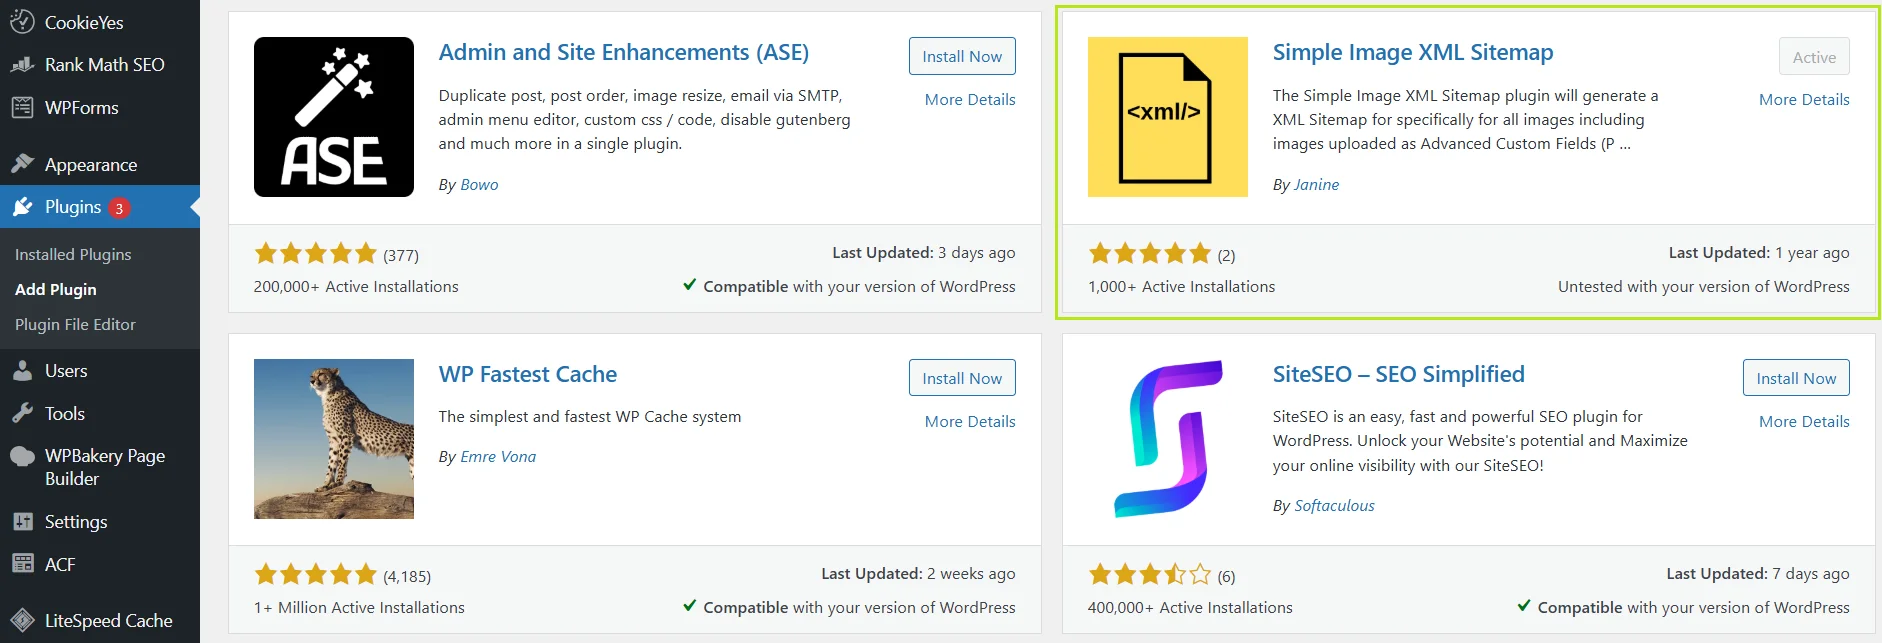
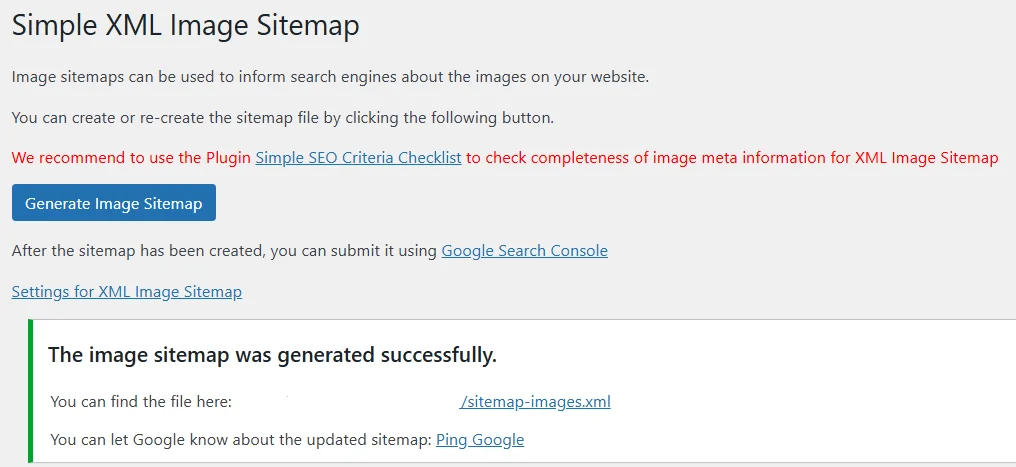
Here’s how to create a separate image sitemap in WordPress using the Simple XML Image Sitemap plugin:
- In WP Dashboard → Plugins → Add New, search for Simple XML Image Sitemap, then click Install Now → Activate.
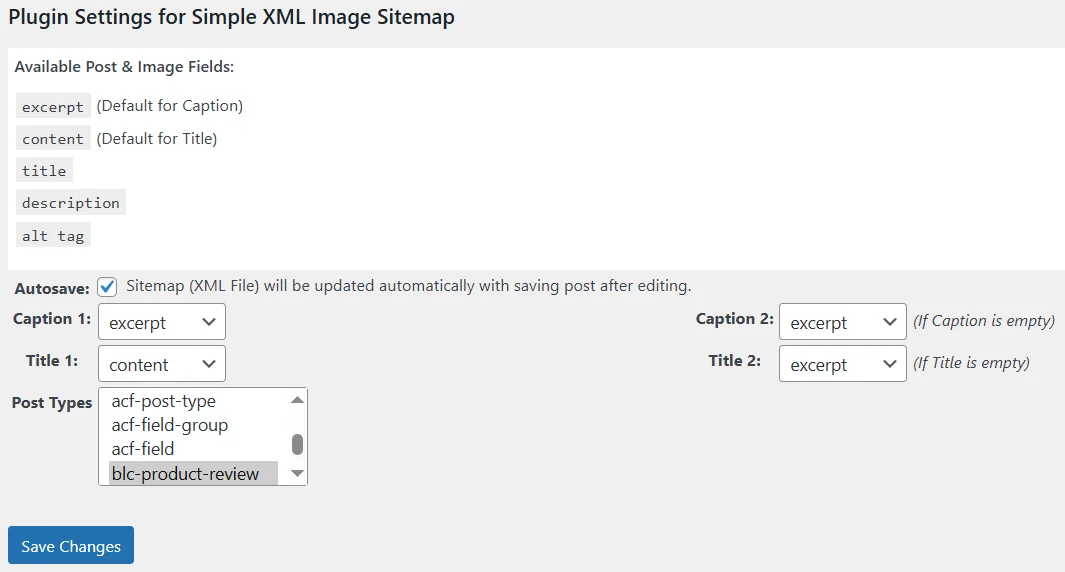
- Go to Settings → Simple XML Image Sitemap and configure your preferred options, including post types to include.
- Finally, go to Tools → Simple XML Image Sitemap → Generate Image Sitemap to generate your sitemap.
For other CMS platforms, there are similar tools available in their plugin directories. Alternatively, you can use online sitemap generators as an easy, platform-independent solution.
How to Create a Separate Image Sitemap Using Online Generators
Services like XML-sitemaps.com, InSpyder Sitemap Creator, AuditMySEO Sitemap Generator, and similar tools allow you to instantly generate a complete sitemap and then separately download an Image Sitemap. Most of these platforms follow a freemium model — sitemap generation is free up to a certain number of pages, after which a paid plan is required.
There are also dedicated tools for generating only image sitemaps — for example, Image Sitemap Generator by Angel Studio:
- Go to the main page, paste your Website URL, and click Generate.
- Scroll down and copy the XML Output.
- Paste the code into a text editor and save the file as image-sitemap.xml.
- Upload the file to the root directory of your website.
- Don’t forget to specify the path to the file in your robots.txt by adding the line:
Sitemap: https://example.com/sitemap-images.xml
Keep in mind that each time your website content changes, you’ll need to manually regenerate and replace the sitemap file with the updated version. If your site runs on a CMS, it’s better to use plugins that update automatically. For custom-built websites, you can set up a cron script to automate sitemap generation.
An Image Sitemap isn’t an “outdated tool” — it’s a key to visual traffic in the era of AI-powered search. For websites where images complement textual content, SEO plugins are sufficient, as they automatically include images in the sitemap.xml using <image:image> tags. However, for media-focused projects, a separate image sitemap can significantly improve visibility in Google Images and enhance overall SEO performance.