- How to Prepare a Website for Moving to HTTPS
- Setting Up HTTPS on Hosting
- Setting Up the .htaccess File and Notifying Search Engines
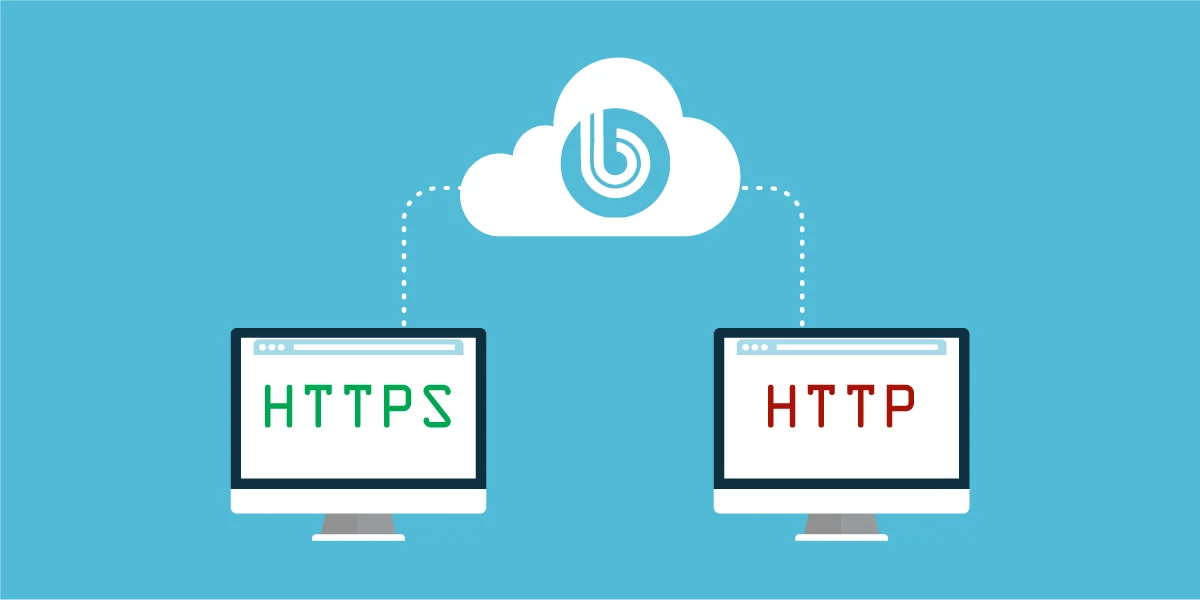
A few years ago, HTTPS was a recommendation, but today it is the standard. Without a secure protocol, a site can lose user trust and search engine rankings, and Google officially labels such projects as “unsafe”, which affects visitor behavior and conversions. Now it is not just a technical formality, but an important step for SEO, data security, and brand reputation. Switching to HTTPS is easy, but it has its own nuances: to avoid losing traffic, you need to properly configure redirects, update internal links, and check the indexing of the site.
How to Prepare a Website for Moving to HTTPS
We have already talked about what an SSL certificate is and why you should move your website to the HTTPS protocol in a previous publication. Now let’s go over how it is done.
To transfer a site without losing your position, you first need to perform a number of preparatory tasks:
- Replace all absolute links in internal linking with relative ones. This will help avoid unnecessary problems with the availability of website elements and repeated indexing by search engine crawlers after the move.
- Fix links to media content. If the files are located on your website, change the URLs to relative ones, as in the previous step. If they are hosted on an external portal, change the links only if that content is available via the HTTPS protocol.
- Check the settings for connecting external scripts. If absolute links are used, they need to be changed by specifying relative paths.
Important! Absolute links contain the full address of the page with the domain and protocol (https://site.ua/page.html), while relative links contain only the path within the site (/page.html). Absolute links are used for external links. Relative links are used for internal ones, so the site can be easily moved without issues.
These three steps are the most labor-intensive, as they take a lot of time to implement. But to move a website from HTTP to HTTPS, they must be completed without fail.
Setting Up HTTPS on Hosting
After the preparatory stage, it’s time to move on to the main work. To transfer the site to https, do the following:
- Select and purchase an SSL certificate. They come in different types, so base your choice on your needs and financial capabilities:
- Regular. Used for one domain. Issued within 5–10 minutes, as only the ownership of the domain by the person requesting the certificate is verified.
- Extended Validation. After purchasing this certificate, a green padlock and the organization’s name appear in the address bar. For most users, this is a guarantee of the website’s reliability. To obtain this certificate, you must confirm domain access rights, provide documents on the company’s state registration. Additionally, the company name in the Whois data is verified, test calls are made to the main company phone numbers, and so on.
- Wildcard. Used for subdomains.
- With IDN support. Intended for websites with Cyrillic domains.
- Install the SSL certificate on the server. Usually, this procedure takes a couple of minutes since it is performed in the user-friendly control panel provided by the hosting company. If you encounter difficulties, contact technical support or hire an experienced programmer to move the website to HTTPS without losing traffic.
- Check the accessibility of the web resource. Make sure it opens via both URLs: with http and https at the beginning of the address bar. Then configure it so that when the HTTP version is opened, the user is automatically redirected to the secure HTTPS protocol.
If the website is unavailable via one of the addresses, or redirection does not occur, it means errors were made during configuration. Or there may be issues on the hosting provider’s side. There is only one recommendation here: find the cause and fix it.
By the way, for everyone using the services of the hosting company Cityhost, it is enough to simply purchase an SSL certificate — and the web resource will immediately be available via HTTPS. You will only need to slightly adjust the site engine and change addresses in MySQL.
Setting Up the .htaccess File and Notifying Search Engines
Finally, you need to perform a few simple actions:
- Set up a 301 redirect. To save time, configure it in the .htaccess file using the mod_rewrite module. Or contact your hosting company’s technical support for assistance.
- Find and fix errors. The transition of a site from http to https is always accompanied by some nuances. Therefore, after the move, check everything: the availability of each page, the correct operation of links and media files. If necessary — fix them.
- Notify search engines about the move to HTTPS. This is necessary to minimize traffic loss. You can notify search engines in Google Search Console.
Now you know how to set up the HTTPS protocol. Whether to do it yourself or entrust it to specialists — it’s up to you. By understanding the difference between HTTP and HTTPS and correctly setting up the data transfer protocol, you increase the chances that the website will receive a solid plus from search engines. And with the right approach to promotion, it will be much easier to take high positions in search results.
Was this publication informative? Then share it on social networks and join our Telegram channel. We remind you that you can buy affordable hosting in Ukraine from the company Cityhost. For technical questions, contact us via online chat or by phone ☎️ 0 800 219 220.