
The main menu is considered the founder of site navigation. It is important not only for users, but also for the search engine - bots scan each link, starting from the main menu. Therefore, the main menu on the site is necessary, without it, using the site will be inconvenient.
Its addition can be conditionally divided into two stages:
- Creating a main menu on WordPress.
- Adding a menu to the site.
In this article, we will describe a step-by-step action plan, you will learn how to make a menu in WordPress without error and then use it to manage the site.
Step-by-step instructions for creating a menu on WordPress
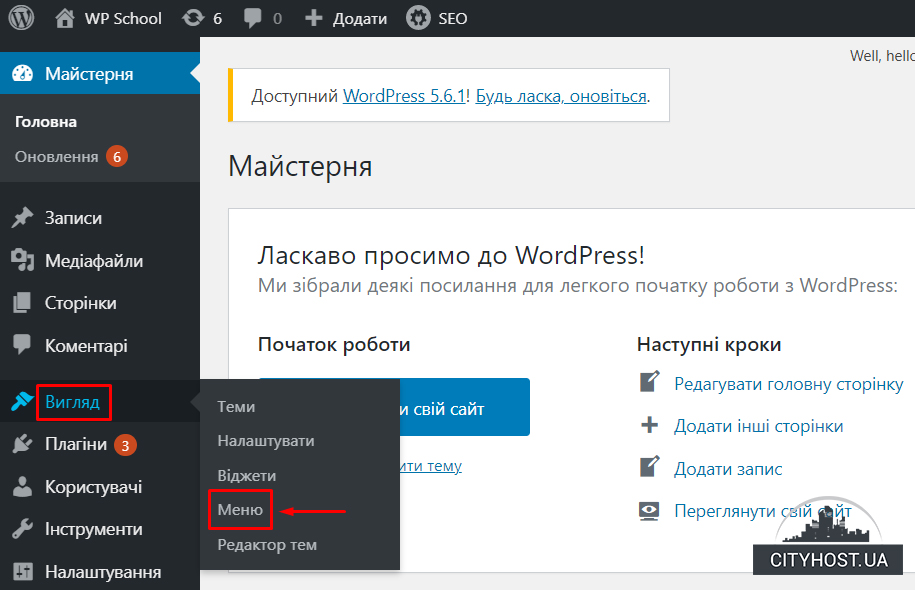
Step 1. We create a menu. To begin with, you should go to the site's admin panel and find the section called "External View" , then select the "Menu" section. We click on it and an empty section opens to us. Click and create a new menu, then enter the name in the open window, and then click on the "Create menu" button.
- Pages. Using this tab, you can add any pages to the site by selecting their templates.
- Records. It will help to add a link to any record created on the site in the menu.
- Custom links. It will help to add a link from your own site or any other resource.
- Categories. It will help to add a heading that was created on your site to the menu.

Suppose you need to add a link to a category created on the site. To do this, select the "Categories" tab, put a check mark in the appropriate place on the required heading, and then click on "Add to menu" .
If you need to add a link in the site menu, select the "Arbitrary links" tab, enter the desired link in the column, then write the name or text, and then add it to the site.
If you wish, you can swap the menu items. To do this, you need to click the item to be moved with the left mouse button and drag it to the desired place. After each action, do not forget to click the "Save menu" button. The menu is created and saved.
The next step: adding a menu to the site
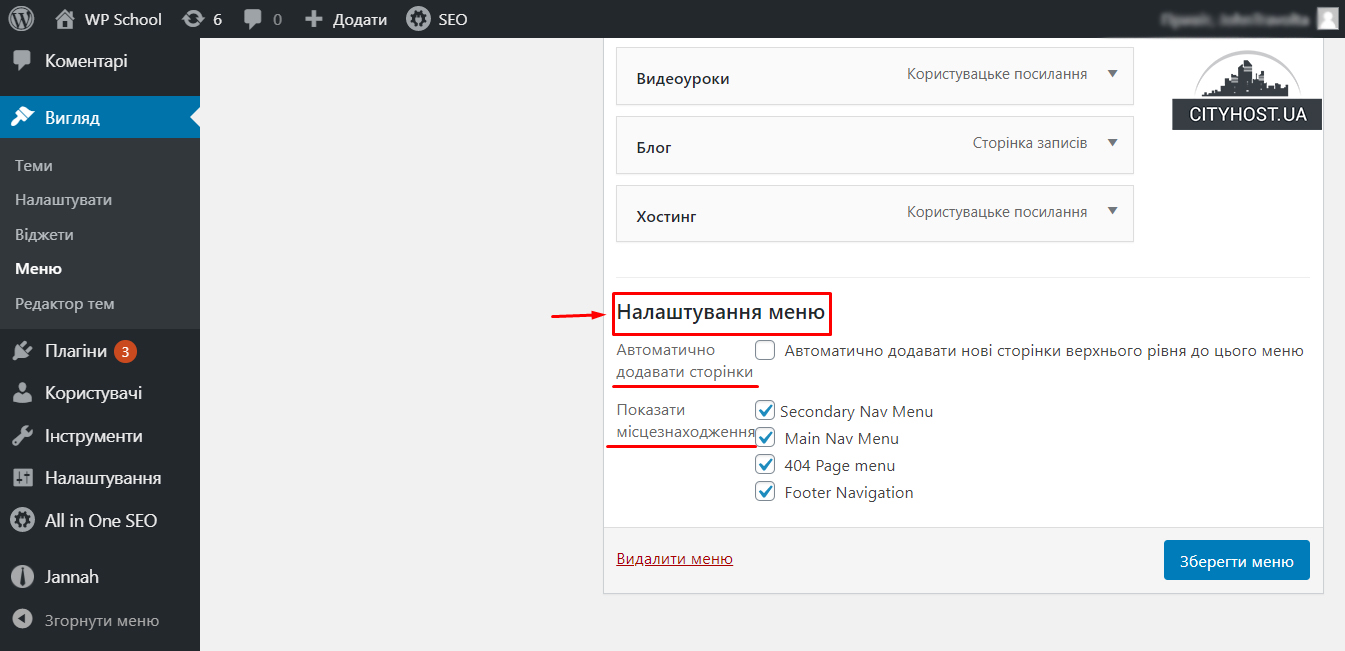
It is important to note that after creating the main menu, you need to synchronize it with the selected WordPress theme. To do this, select the "Display area" check box. It is located at the very bottom of the created menu. There you need to check the box where the menu should be displayed, and then save the changes.
Sometimes the checkbox can be called differently, depending on the WordPress theme used. There may be more or less of them. But most often everything is standard.
After performing the actions, your main menu will be displayed correctly on the site. If you want uninterrupted operation of the menu and the entire site, we recommend renting a server .
Editing the menu structure
Menu sections that were previously created can be moved to a hierarchical list. This is done by moving control links up and down. After the menu is filled, you can enter the settings in two points:
- Automatic page addition. Pages in the menu will be added automatically.
- Display area. It will help to place the menu in the right place of the selected template. For example, in the side or top menu.
Similarly, you can select an area using the "Manage Areas" tab. If you need to edit the created menu, for this there is a corresponding button "Menu for changes" . Next, we choose what we want to change and proceed with the desired change. After that, don't forget to save everything.
Read also: How to change the page address in Wordpress?