There can be many reasons for moving a WordPress site to another domain . For example, the registered URL has been used before or search engines did not like it. But a simple transfer from one directory to another can harm the site - the layout will be broken, pictures will disappear, etc. To understand how to transfer a site created on WordPress to another domain with maximum security for it, read and follow our step-by-step guide.
Step-by-step transfer instructions
Step 2. Enter the domain name in the PU to which the site will be transferred.
Step 3. Open the root of the old site.
Step 4. Select absolutely all the data and folders of the old website, then copy them to the folder of the new website.
Step 5. We create a new database.
Step 6: Using phpMyAdmin, copy the old database and transfer it to the new one. Export the database dump.
Step 7. Open the hosting control panel, open the database of the new site. You can do this using phpMyAdmin. Perform a database dump download of the old site.
Importantly! A database dump is used to back up a database so that if it is lost, all its contents can be recovered. Therefore, copying and transferring the database dump is mandatory!
Step 9. You need to change the site configuration file WP-config.php. This file is located in the root of the site of the new domain name. Next, you should change the database name, login and password of the table (output data, information) of the database for the new site.
Step 10. Next, clear the cache (folder called cache) in WP-content. In order for the site to display correctly, it is recommended to clear the local cache.
Step 11. When switching from HTTP to HTTPS or changing the domain name, you need to change the links to new ones. To display the site on a new domain, use the Velvet Blues Update URLs plugin in the WordPress admin panel of the new site.
Step 12. To use the plug-in, open the "Applications" section, click on "Add new" , enter the name of the plug-in, then search and install. After installation, click on the "Activate" button. Open the menu "Tools" - Update URLs and specify the data accordingly:
• OLD URL – outdated link.
• NEW URL - a new link that refers to a new address.
Tick all the items where you need to replace the links, except for the UpDate ALL Guides item. Next, click on Update URLs NOW and wait for the plug-in to finish downloading. This plugin will migrate all links.
Check for broken links
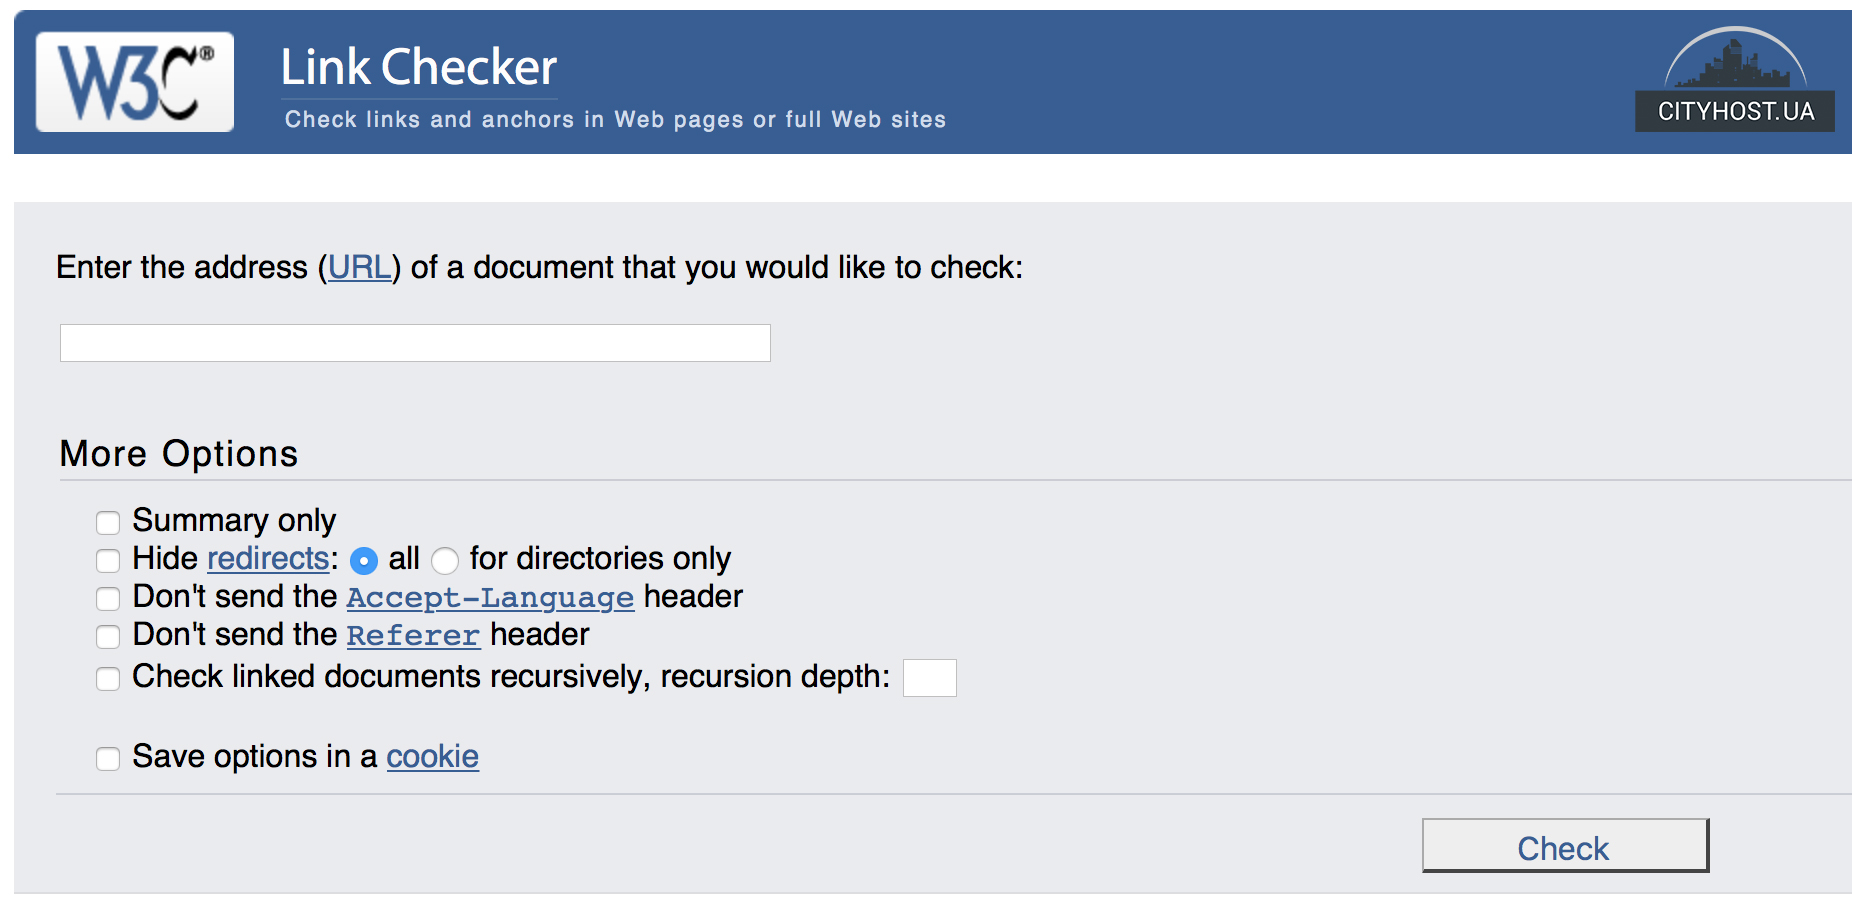
To ensure that there are no broken links on your new site, it is necessary to check each page using the W3C Link Checker. If a broken, non-working link is found, use a 301 redirect that will help the user find the page he needs. The same happens if the beaten link comes from your site. If there is no place to redirect a broken link, it is better to completely remove it from the page.

Checking plugins and settings
WordPress can reset the initial settings when things are switched or changed. Therefore, after the transfer, be sure to check whether the plugins are working and whether the correct settings have been saved.
Checking the correctness of the website
The transfer of the site to a new domain is complete, but it is necessary to check in detail whether the site is working correctly. Download the new site, see if the design looks right, if the pictures, layout, content are in place. If everything looks as it should, then the migration to the new domain was done correctly.
Read also: Where is the database stored in WordPress?


