Smmplanner is a specialized service for website promotion in social networks. It helps to plan and automate the placement of posts in groups and on personal pages. It helps in those cases when there is no time to engage in promotion on your own, and there is no possibility to hire an SMM specialist.
Getting started with the Smmplanner service
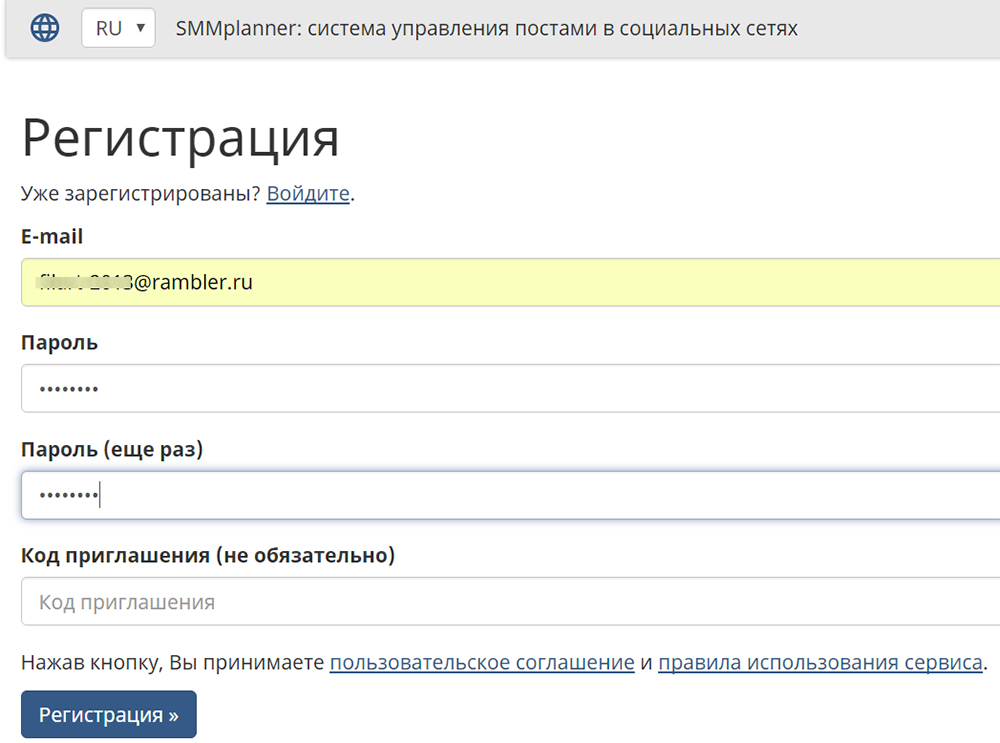
The Smmplanner service is very easy to learn, so even a beginner can work with it. To get started, you need to register. The procedure is simple: enter your e-mail, password and accept the user agreement.
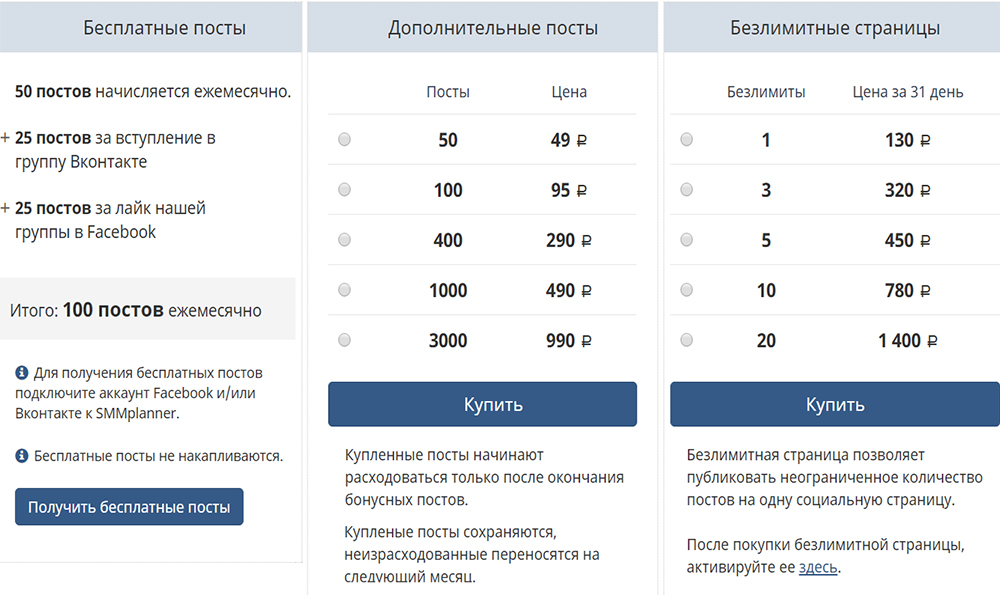
After registration, the system will redirect you to the Smmplanner personal account. 50 free posts will be given as a gift - to study the functionality and capabilities of the service (charged monthly).
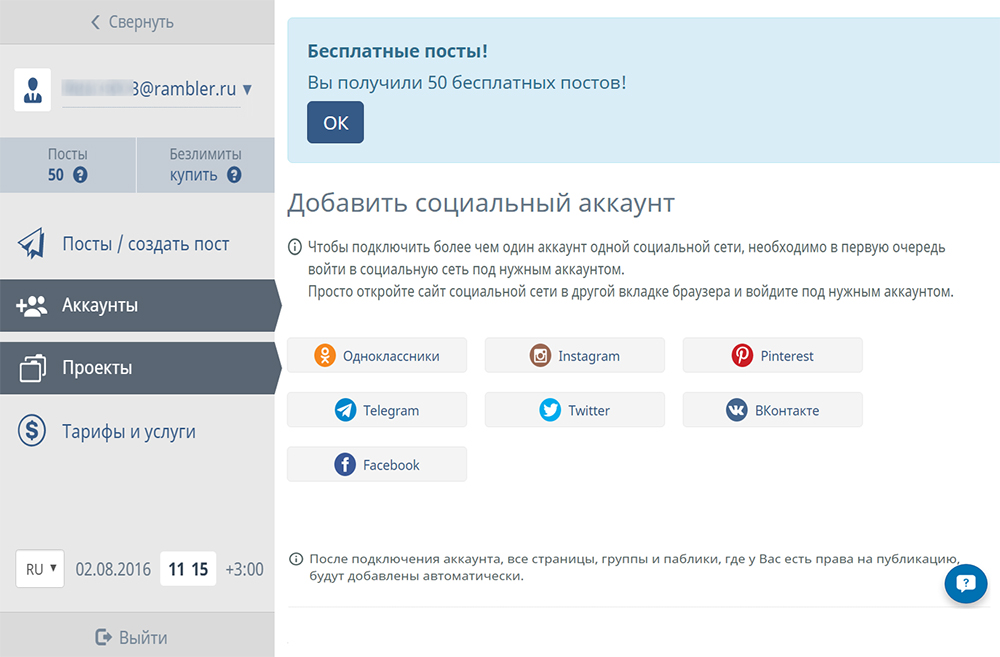
You can increase their number to 100 if you fulfill 2 requirements. The first is to join the VK community, the second is to like the Smmplanner Facebook group. In total, you will receive 100 free posts every month. If this is not enough, you can buy additional posts at the set prices.
Important : If you have a large project, we recommend ordering a reliable VPS server and ensuring stable operation of the site.
How to use the Smmplanner service: step-by-step instructions
Now let's consider how to plan the placement of posts in social networks. The instructions for the Smmplanner service are very simple:
- Connect any account from available social networks, giving the service management rights.
- Go to the "Projects" tab and click the "Add project" button
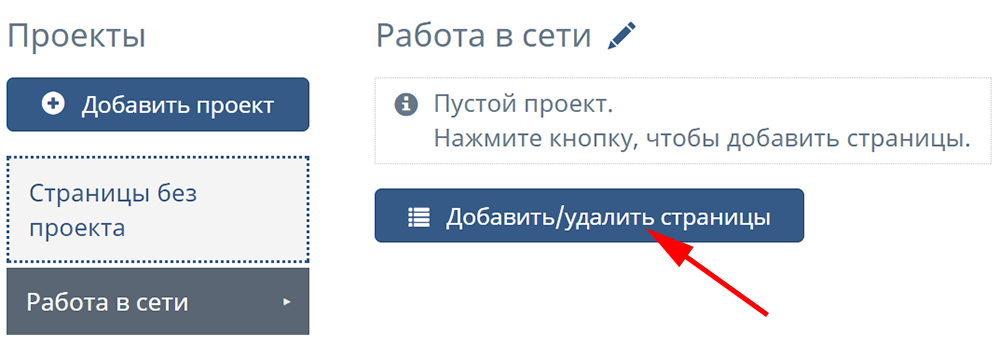
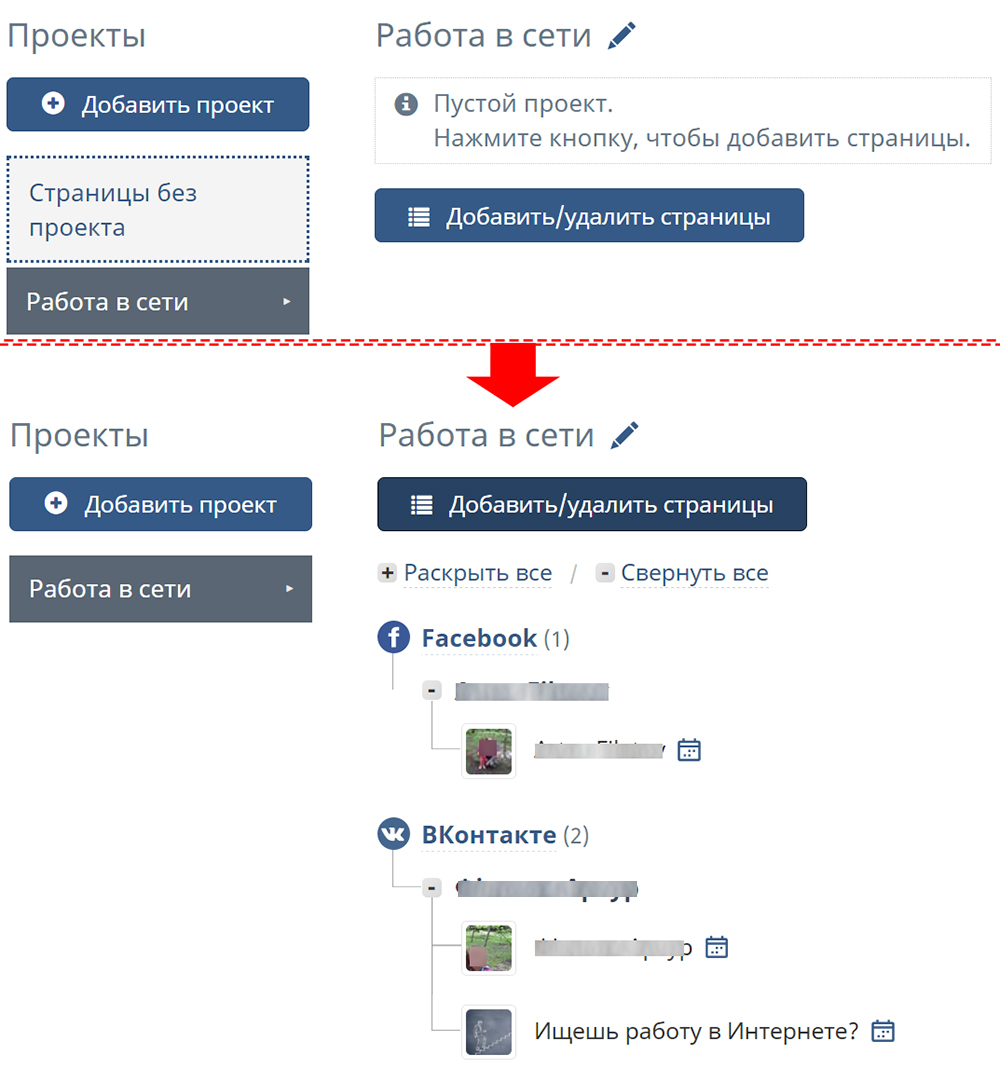
- Specify the name of the project and add the URL of the pages on which you want to publish posts.
- Go to the "Posts/Create a post" section and click the "Schedule a post" button. Fill in the description of the new post, if necessary - add links, images or video files. There is also a button "Automatically remove via ...". But this action is equivalent to one publication (1 free post will be removed from the account).
- Click on the plus sign opposite the project name and enter the date and time of the post publication
- The creation window will show the schedule of future posts. If everything suits you, click the "OK" button to confirm the execution of the planned actions.
When X time comes, the post will be published on the indicated page in social networks. You can go to it and personally verify the presence of a fresh publication.
Read also : How to use the Netpeak Spider program .
Results
Now you know how to use the Smmplanner service. As you can see, there is nothing complicated here. At the same time, you can place publications absolutely free of charge. 100 free posts per month is enough to promote a small group or a personal page. And if not, you can always buy them, since the prices at Smmplanner are quite affordable.
Was the publication informative? Then share it on social networks and join our Telegram channel. We remind you that the hosting company CityHost provides inexpensive hosting services for sites of any complexity. Do you need hosting in Ukraine? Order it from us! For technical questions, contact the online chat or use one of the phone numbers ?? 0800219220.